

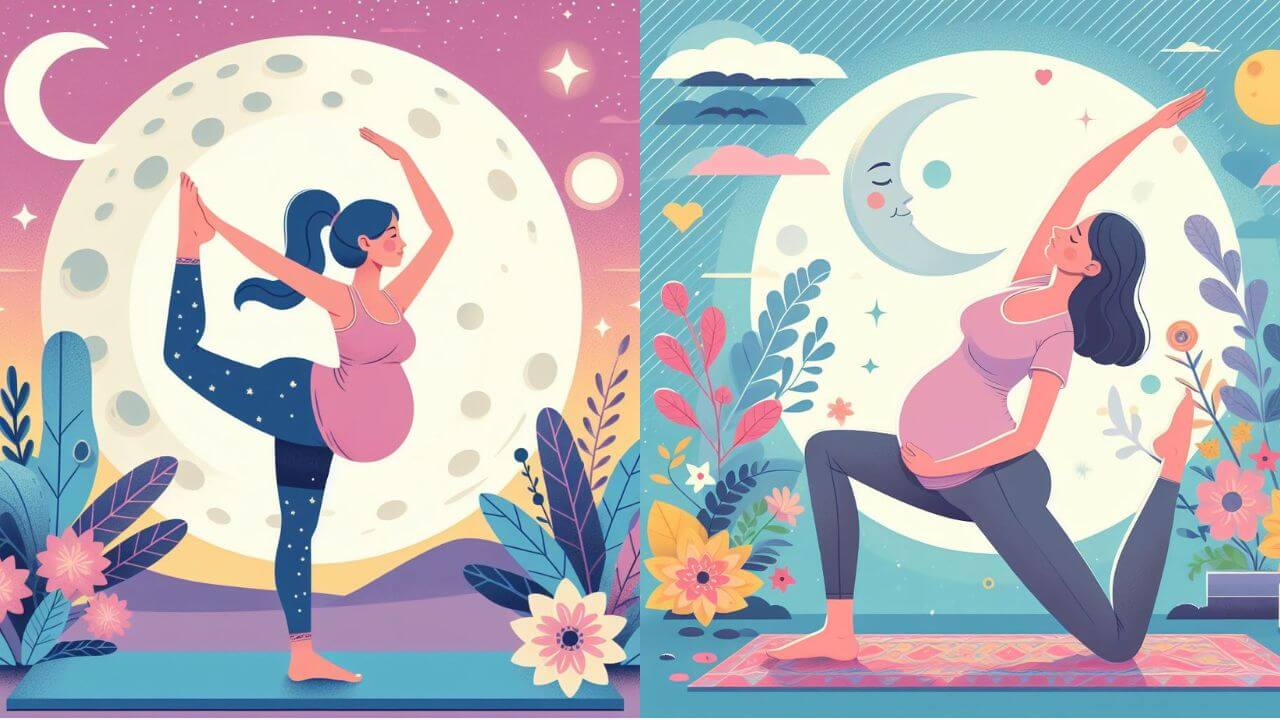
This question often arises in the minds of women whether yoga can be done even during pregnancy? Experts say that yes, but with some precautions.
World Yoga Day(Special on 21st June)
Special care should be taken of the pregnant woman before, during and after pregnancy, whether it is diet, rest or exercise. There are some asanas in yoga which can be done during pregnancy. With these, blood circulation remains healthy, weight remains normal and all organs remain healthy. Mother remains physically, mentally and emotionally strong.
1. Tadasana:
First of all, Tadasana can be done for full body stretching. Standing on the yoga mat, raise both your hands while inhaling. If you can maintain balance, lift your heels and keep your weight on your toes. Then exhale and come back slowly.
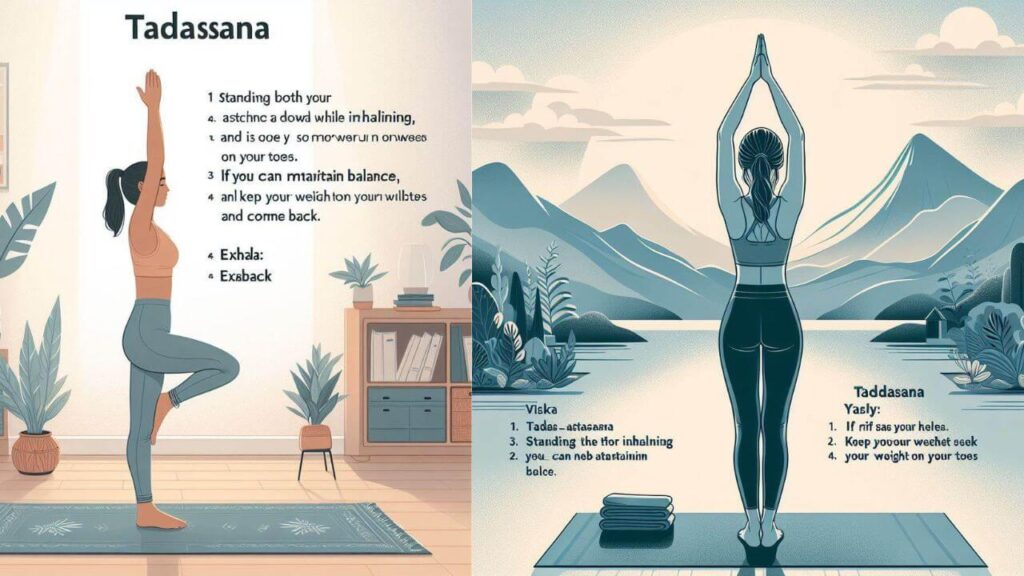
Tadasana, also known as the Mountain Pose, is a fundamental yoga posture that serves as the foundation for many other standing poses. Let’s break down how to perform Tadasana step by step:
Starting Position:
- Stand with your feet together, touching from the heel to the big toe.
- Keep your back straight and your arms pressed slightly against your sides, with palms facing inward.
Muscle Engagement:
Slightly tighten or flex the muscles in your knees, thighs, stomach, and buttocks to maintain a firm posture.
Breathing and Movement:
- Inhale through your nostrils.
- As you inhale, lift your buttocks off your legs, arch your back, and thrust your abdomen forward.
- Tilt your head as far back as possible.
Benefits of Tadasana:
- Improves posture and opens up the chest.
- Lengthens the spine.
- Gently strengthens the thighs, buttocks, and leg muscles.
- Increases awareness and concentration.
- Reduces flat feet and relieves sciatica.
Modifications and Variations:
- If you have knee issues, stand with your feet hip-width apart and a slight bend in your knees.
- For beginners, stand with your back against a wall, straightening your body as much as possible.
- If standing is uncomfortable, practice Mountain Pose in a chair, keeping your feet firmly grounded on the floor.
Remember, Tadasana represents stability and strength, much like an unshakeable mountain. Incorporate it into your practice to build a solid foundation for other yoga postures. 🧘♀️
2. Ardhachandrasana:
This is done with the legs together, but during pregnancy it can also be done with the legs slightly opened. This is also called side bending. Raise one arm up at a comfortable level and bend it to the opposite side and repeat this action two to three times on both sides. You can also hold it for four to five seconds.
Ardhachandrasana, also known as the Half Moon Pose, is a graceful yoga posture that pays homage to the celestial half-moon shape. Just as the half moon reveals a perfect balance between the moon and the sun, Ardhachandrasana balances the body with lateral extension of the leg and torso. Let’s explore how to perform this pose:
Starting Position:
- Begin by standing with your feet together.
- During pregnancy, you can slightly open your legs for comfort.
- Keep your back straight and your arms pressed lightly against your sides, with palms facing inward.
Movement:
- Inhale and raise one arm straight up, keeping the palms pressed lightly together.
- Arch your body backward, allowing your arm to extend alongside your neck and head.
- Tilt your head backward as well.
- Hold this position, maintaining straight knees.
Benefits of Ardhachandrasana:
- Strengthens the core muscles.
- Enhances focus and concentration.
- Improves balance and coordination.
- Opens the backs of the legs and strengthens the paraspinal muscles.
Variations and Modifications:
- If you have hip or spinal issues, consult a yoga instructor before attempting this pose.
- Pregnant women should avoid Ardhachandrasana.
- For beginners, consider practicing this pose against a wall for support.
Remember to breathe deeply and mindfully while holding the pose. Ardhachandrasana is a beautiful way to connect with your inner balance and harmony. 🌙🧘♀️
How to modify this pose for pregnancy?

During pregnancy, it’s essential to practice yoga with care and make necessary modifications to ensure safety for both you and your baby. Here’s how you can modify Ardhachandrasana (Half Moon Pose) for pregnancy:
Wider Stance:
- Instead of keeping your feet together, stand with a slightly wider stance to accommodate your growing belly.
- This provides better stability and balance.
Gentle Side Bending:
- Raise one arm up as you inhale, just like in the regular pose.
- Instead of bending dramatically to the side, perform a gentle lateral stretch.
- Avoid compressing your abdomen or putting pressure on your baby.
Avoid Deep Backbend:
- While arching backward, be cautious not to overextend your spine.
- Keep the backbend moderate and comfortable.
- Listen to your body and avoid any discomfort.
Use a Wall or Chair:
- Stand near a wall or use a chair for support.
- Place your hand on the wall or hold the back of the chair while practicing the modified pose.
- This ensures stability and prevents any accidental falls.
Breathing and Relaxation:
- Focus on deep, mindful breathing.
- As you exhale, gently come back to the upright position.
- Use your breath to create a sense of calm and relaxation.
Remember to consult your healthcare provider or a certified prenatal yoga instructor before practicing any yoga poses during pregnancy. They can guide you based on your specific needs and trimester. Always prioritize safety and comfort for both you and your baby. 🤰🧘♀️
3. Trikonasana:
Open the legs to a comfortable level and open the hand from any side and bend it till the ankle joint and the other hand should remain open above at 180 degrees.
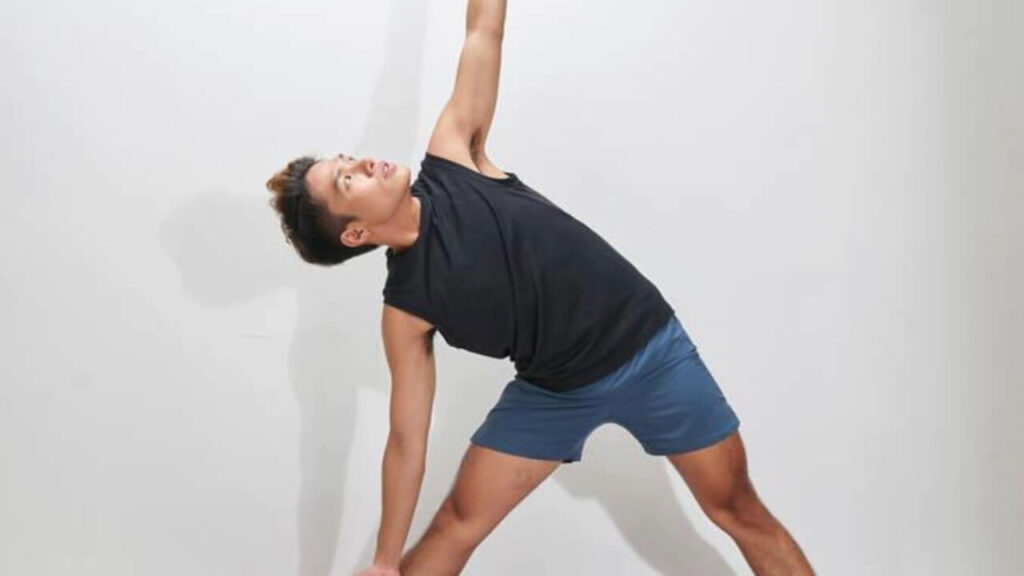
Trikonasana, also known as the Triangle Pose, is a standing yoga posture that combines strength, balance, and flexibility. Let’s break down how to perform Trikonasana step by step:
Starting Position:
- Stand with your feet slightly wider than shoulder distance apart.
- Keep your arms by your sides.
Movement:
- Inhale and raise both arms straight out from the shoulders, parallel to the floor, with palms facing down.
- Exhale slowly while turning your torso to the left.
- Bend at the waist and bring your right hand down toward the left ankle.
- The palm of your right hand should rest along the outside of your left ankle.
- Simultaneously, extend your left arm upward.
- Keep both legs and arms straight without bending your knees or elbows.
- Turn your head upward to the left and gaze at the fingertips of your left hand.
Benefits of Trikonasana:
- Strengthens the waist, core, hamstrings, thighs, knees, and ankles.
- Opens and stretches the muscles of the hips, hamstrings, and spine.
- Increases blood flow to the head.
- Creates suppleness in the spinal discs and relieves lower back discomfort.
Tips for Practicing Trikonasana:
- Warm up your entire body before attempting the pose.
- Perform the forward bend slowly and gently to maintain balance.
- Avoid this pose if you have migraine, diarrhea, low or high blood pressure, or neck and back injuries.
- If you have high blood pressure, avoid raising your hand overhead during the pose.
Remember to breathe steadily and mindfully throughout the practice. Trikonasana is a powerful posture that promotes stability and flexibility in both body and mind. 🧘♀️
Common mistakes to avoid in Trikonasana?
When practicing Trikonasana (Triangle Pose), it’s essential to be mindful of certain common mistakes to ensure proper alignment and safety. Here are some key points to avoid:
Overstretching the Neck:
- Mistake: Straining to look upwards.
- Correction: Keep the neck long and maintain a natural gaze.
Collapsing the Torso:
- Mistake: Allowing the torso to collapse forward.
- Correction: Maintain length in both sides of the waist.
Misalignment of the Hips:
- Mistake: Twisting the hips toward the front.
- Correction: Keep the hips open toward the long edge of the mat.
Hand Placement:
- Mistake: Resting the hand directly on the knee.
- Correction: Avoid placing excessive strain on the knee joint. Instead, focus on keeping the leg straight.
Remember, Trikonasana involves a sideways hip movement with straight arms and legs, emphasizing core engagement and thigh strength. Practice mindfully and enjoy the benefits of this powerful pose! 🧘♀️
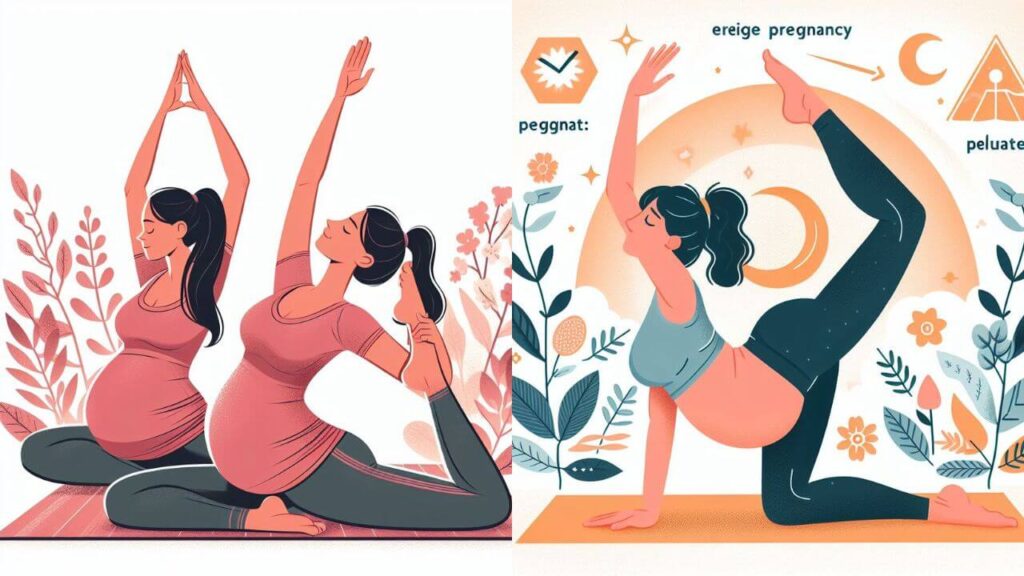
4. Virasana:
Stand on the yoga mat with both legs open. First of all, turn the right leg towards the left and bend the knee and balance on the back leg. Open the hand which is in front till the shoulder and open the other hand behind at 180 degrees. Do the same from the other side also.
Virasana, also known as the Hero Pose, is a seated yoga posture that offers various benefits for the body and mind. Let’s break down how to perform Virasana step by step:
Starting Position:
- Begin by kneeling on the floor with your feet together.
- If necessary, place a folded blanket or bolster between your calves and thighs for comfort.
Leg Position:
- Turn your right leg toward the left, bending the knee.
- Balance on the back leg (left leg) while keeping the spine straight.
Arm Placement:
- Extend the arm in front of you until it reaches shoulder height.
- Simultaneously, open the other arm behind you, creating a 180-degree angle.
Benefits of Virasana:
- Stretches the thighs, knees, and ankles.
- Strengthens the arches of the feet.
- Improves digestion and relieves gas.
- Helps alleviate menopausal symptoms.
- Reduces swelling in the legs during pregnancy (up to the second trimester).
- Therapeutic for high blood pressure and asthma.
Variations and Tips:
- Use props like blankets or blocks to support your buttocks if they don’t comfortably rest on the floor.
- Keep both sitting bones evenly supported.
- Turn your thighs inward and press the heads of the thigh bones into the floor.
- Lengthen the tailbone into the floor to anchor the back torso.
To Exit the Pose:
- Press your hands against the floor and lift your buttocks slightly higher than the heels.
- Cross your ankles underneath your buttocks and sit back over the feet.
- Stretch your legs out in front of you.
Remember to breathe deeply and maintain proper alignment throughout the practice. Virasana is a pose that embodies strength and courage, much like a hero. 🧘♀️
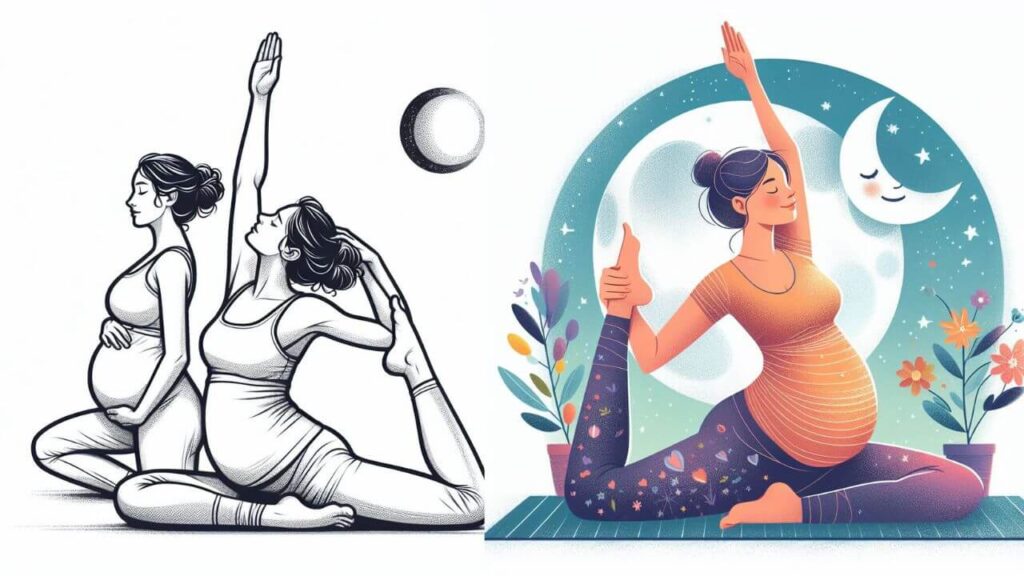
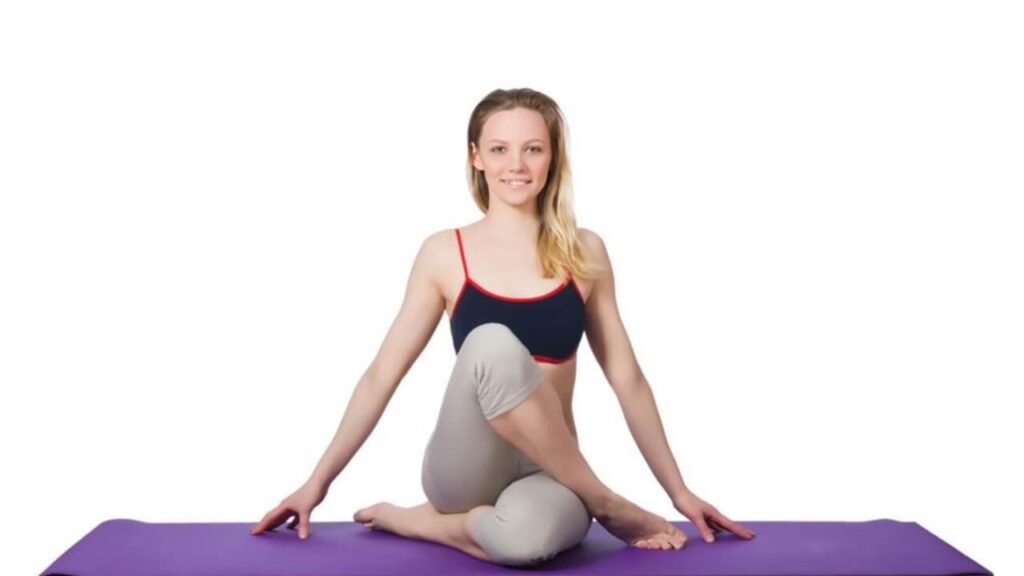
5. Bhadrasana:
Sit down and bring the feet together by bending them at the knees a little while touching the toes and soles of both the feet. You can also do butterfly in this posture. Very famous asana and it is mostly done during pregnancy.
Bhadrasana, also known as the Gracious Pose or Butterfly Pose, is a comfortable seated yoga posture that offers various benefits. Let’s explore how to perform Bhadrasana step by step:
Starting Position:
- Begin by sitting on your yoga mat.
- Bring your feet together by bending your knees slightly.
- Touch the toes and soles of both feet.
Leg Position:
- Keep your feet close to your groin, forming a diamond shape with your legs.
- The soles of your feet should be touching each other.
Hand Placement:
- Rest your hands on your knees.
- You can also gently press down on your thighs to deepen the stretch.
Benefits of Bhadrasana:
- Stretches the inner thighs, groins, and knees.
- Opens the hips and promotes flexibility.
- Relaxes the pelvic area.
- Aids in meditation and breath control practices.
- Calms the mind and reduces stress.
Variation: Butterfly Pose:
- In Bhadrasana, you can gently flap your legs up and down like butterfly wings.
- This movement further enhances the hip opening and relaxation.
Precautions:
- Avoid Bhadrasana if you have arthritis or sciatic nerve issues.
- If your hip joint is not flexible, practice with ease and avoid straining.
- Pregnant women can benefit from this pose, but consult a doctor or yoga instructor.
Remember to breathe deeply and find comfort in this grounded and gracious posture. 🦋🧘♀️
Modifications for Bhadrasana during pregnancy
During pregnancy, practicing Bhadrasana (Butterfly Pose) can be beneficial, but it’s essential to make some modifications to ensure comfort and safety. Here are the key modifications:
Use Prop Support:
- Place folded blankets or cushions under the outer thighs.
- This reduces strain on the knees and hips, making the pose more accessible.
- The support also provides comfort to the pelvic area during pregnancy.
Duration and Gradual Progression:
- Start with a short duration and gradually increase as your flexibility improves.
- Listen to your body and avoid overstretching.
- Remember that pregnancy affects your joints and ligaments, so be gentle.
Focus on Breathing:
- Deep, steady breathing enhances the relaxing and stretching benefits of Bhadrasana.
- Use your breath to create a sense of calm and connection with your body and baby.
Remember to consult your healthcare provider or a certified prenatal yoga instructor before practicing any yoga poses during pregnancy. They can guide you based on your specific needs and trimester. Enjoy the modified Bhadrasana and its nurturing effects! 🦋🤰🧘♀️
Benefits of Bhadrasana during pregnancy?
Bhadrasana, also known as the Butterfly Pose or Gracious Pose, offers several benefits during pregnancy:
1. Strengthening the Pelvic Floor Muscles:
- Bhadrasana helps strengthen the pelvic floor muscles, which are crucial for supporting the uterus and bladder during pregnancy.
2. Preparation for Childbirth:
- Practicing this pose prepares the body for childbirth by enhancing flexibility in the groin and hip region.
- It also promotes relaxation and openness in the pelvic area.
3. Improved Digestion:
- Bhadrasana stimulates abdominal organs, aiding digestion and reducing discomfort during pregnancy.
4. Energy Flow and Balance:
- In yoga philosophy, this pose is believed to stimulate the flow of energy (prana) in the pelvic area, providing a sense of balance and vitality.
5. Regular Menstrual Cycles:
- Regular practice of Bhadrasana can help regulate the menstrual cycle.
6. Enhanced Hip Flexibility:
- By stretching and opening the hip joints, Bhadrasana contributes to enhanced flexibility and mobility.
- This is especially beneficial for individuals with sedentary lifestyles or tightness in the hip region.
Remember to practice Bhadrasana mindfully, listen to your body, and consult your healthcare provider or a certified prenatal yoga instructor for personalized guidance during pregnancy. 🦋🤰🧘♀️
6. Setubandhasana:
Lie on your back. Bend your knees and keep a slight gap. Hold the ankles of both feet with both hands. Lift your waist completely from the middle. Keep weight on shoulders and head. There will be weight on the legs also. Lift as much as you can comfortably. Do this for four to five seconds two to three times.
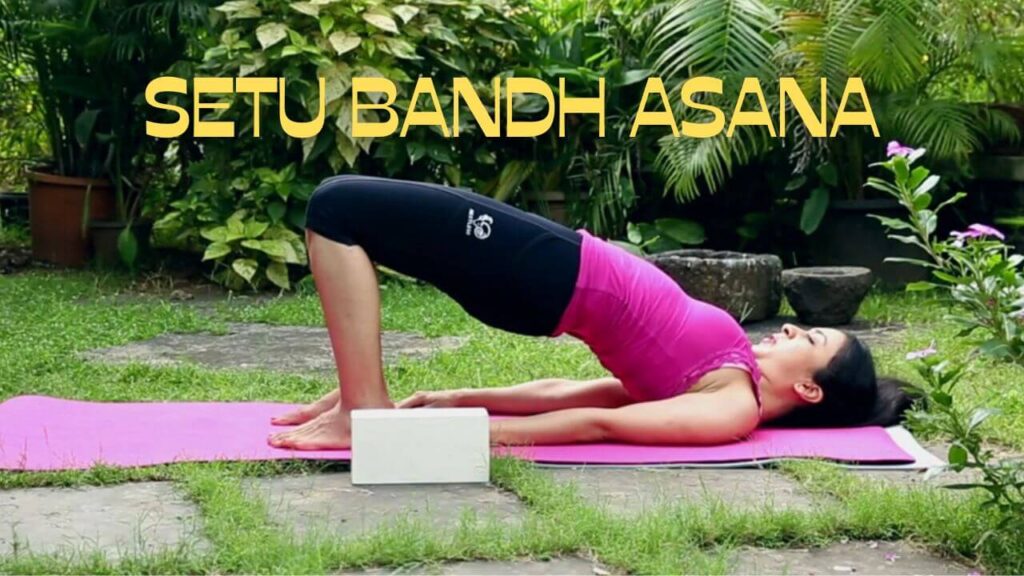
Setubandhasana, also known as Bridge Pose, is a yoga posture that offers several benefits for the body and mind. Let’s break down the steps and explore its advantages:
Starting Position:
- Lie on your back with your knees bent and feet flat on the floor, hip-width apart.
- Slide your arms alongside your body, palms facing down. Your fingertips should lightly touch your heels.
Lifting the Hips:
- Press your feet into the floor.
- As you inhale, lift your hips off the ground, rolling your spine upward. Your knees should remain hip-width apart.
- Squeeze your knees together lightly to maintain the proper alignment.
Engaging the Upper Body:
- Press down into your arms and shoulders to lift your chest upward.
- Engage your legs, buttocks, and mula bandha (the root lock) to lift your hips even higher.
Hold the Pose:
- Breathe deeply and hold the pose for 4 to 8 breaths.
- Feel the stretch in your spine and the activation of your core muscles.
Release:
- To come out of the pose, exhale and slowly roll your spine back down to the floor.
Benefits of Setubandhasana:
- Strengthens Core and Lower Body: Bridge pose builds strength in your core, legs, and buttocks.
- Lengthens and Strengthens the Spine: It helps improve spinal flexibility and posture.
- Energizes the Body: The pose stimulates energy flow.
- Stimulates Endocrine and Nervous Systems: It has positive effects on hormonal balance and overall well-being.
Contraindications:
- Avoid this pose if you have recent or chronic injuries to the knees, shoulders, or back.
Remember to practice Setubandhasana mindfully, and enjoy its rejuvenating effects! 🧘♀️🌟
For more detailed instructions and variations, you can refer to reliable yoga resources like Yoga Basics or Tummee.
7. Ardhasarvangasana:
To do this, lie down on your back and lift both the legs at a 90 degree angle. Keep the knees straight. Surya Namaskar can also be done during pregnancy, provided care is taken that out of the 12 positions for Surya Namaskar, leave the one in which you are not comfortable. Modify the posture in which the stomach comes down and keep it raised. Bend less while bending forward and do it lightly while bending backward also by maintaining balance.
Ardhasarvangasana, commonly known as Half Shoulder Stand, is a gem within the treasure trove of yoga asanas. Let’s embark on a journey to unravel the essence of this rejuvenating posture, understanding its meaning, benefits, variations, and precautions.
Ardhasarvangasana, derived from Sanskrit, translates to “Half Shoulder Stand.” As the name suggests, this pose is a variation of the traditional Sarvangasana (Shoulder Stand), where only half of the body is elevated, offering a gentler yet profound experience.
Here are the steps to perform Ardhasarvangasana:
Starting Position:
- Lie on your back with your arms alongside your body, palms facing down.
- Bend your knees and bring your feet close to your buttocks, keeping them hip-width apart.
Lifting the Hips:
- Inhale and lift your legs off the ground, bringing your knees toward your chest.
- Pressing your palms into the floor, gently lift your hips and lower back off the ground.
- Support your lower back with your hands, keeping your elbows close to your body.
Engaging the Upper Body:
- Extend one leg upward toward the ceiling, keeping the other leg bent with the foot on the ground for stability.
- Hold the pose for several breaths, maintaining a steady gaze and softening your facial muscles.
Release:
- To come out of the pose, slowly lower your extended leg, followed by your bent leg, and lower your hips back to the ground.
Benefits of Ardhasarvangasana:
- Strengthens the Shoulders and Neck: The posture primarily engages the muscles of the shoulders, neck, and upper back.
- Activates Core Muscles: It also activates the core muscles, including the abdominals and obliques.
- Stimulates the Thyroid Gland: Ardhasarvangasana promotes improved circulation throughout the body, enhancing vitality and overall well-being.
Precautions:
- Avoid this pose if you have recent or chronic injuries to the neck, shoulders, or back.
- Practice mindfully and listen to your body.
Remember to practice Ardhasarvangasana with awareness, and enjoy its rejuvenating effects! 🧘♀️🌟
For more detailed instructions and variations, you can refer to reliable yoga resources like Pooja Chronicles or other trusted sources. 🙏
Also Keep in Mind:
Always keep a gap of two and a half to three hours between eating and exercise. Morning time is the best. Always do yoga in open air and clean environment. If you feel thirsty, you can take a few sips of water in between. Eat or drink something only after half an hour of asana. Always wear light and open clothes while doing asana and take rest for a few seconds after asana. If you are under the supervision of a doctor, then take any action only after consulting him. After doing the asana, do Shavasana and only then get up slowly. Along with this, you can do Bhramari Pranayam, Anulom-Vilom, Nadi Shodhan, deep breathing regularly. You can also meditate for some time for mental peace, positive energy and spiritual progress.


Hello! I could have sworn I’ve been to this blog before but after browsing through some of the post I realized it’s new to me. Anyways, I’m definitely happy I found it and I’ll be book-marking and checking back frequently!
Hi, Neat post. There’s a problem with your site in internet explorer, would check this… IE still is the market leader and a big portion of people will miss your magnificent writing because of this problem.
Nice post. I lean ssomething new aand challenging on websxites
I stumbleupon oon a dasily basis. It will alwas be exciting
too read content from other authors and use a little simething from
thedir sites.
Keep working ,terrific job!
vQIcAfVNya